A Quiet Studio Where Young Artists Grow
A private atelier of the highest order, where the children of discerning families develop artistic mastery under the close guidance of master mentors. Art education as it was always meant to be: intimate, rigorous, and enduring.
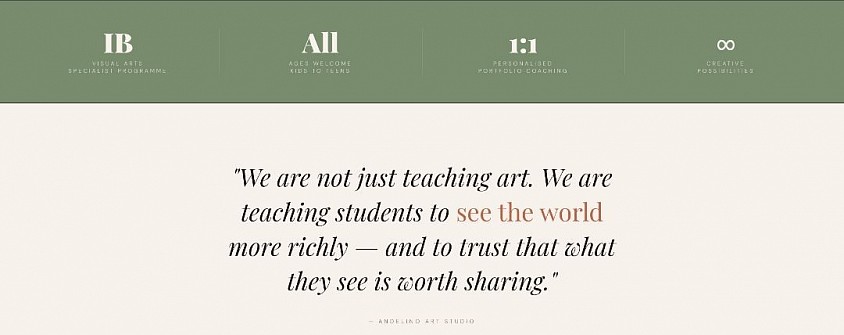
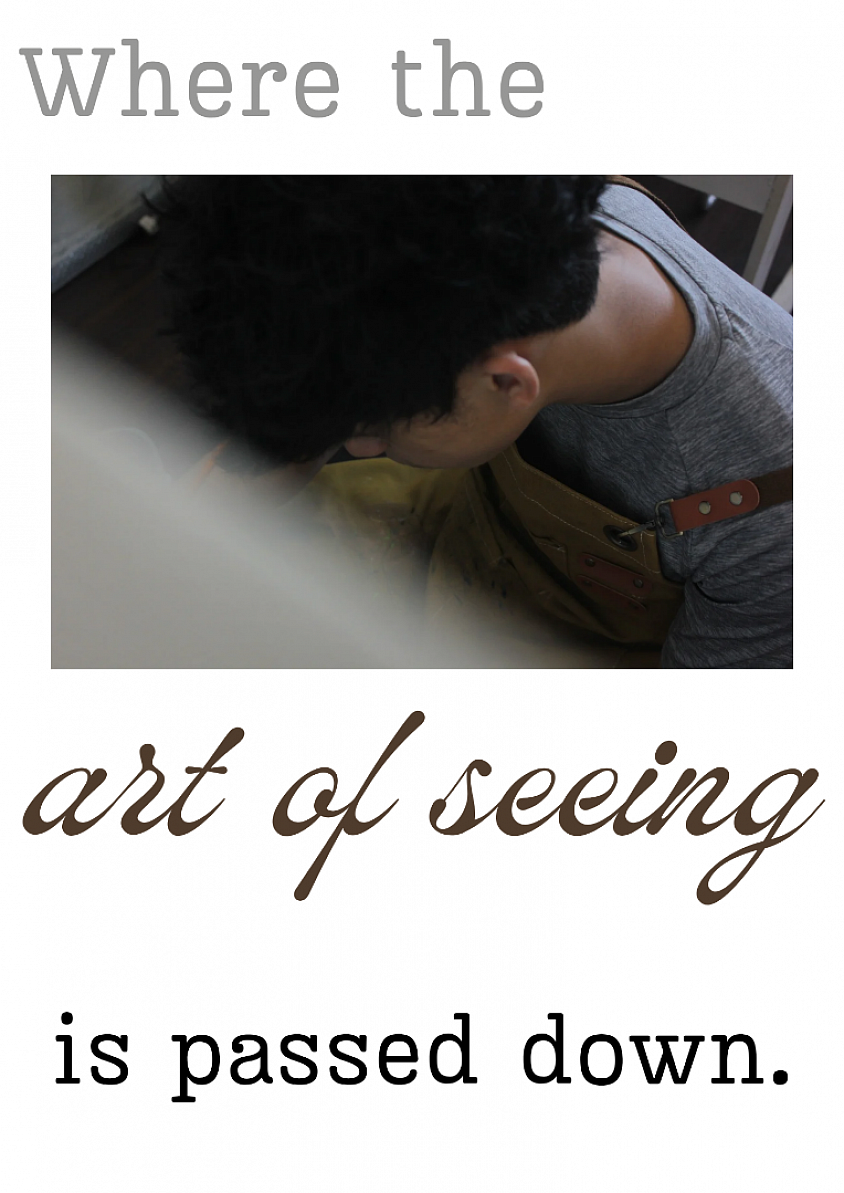
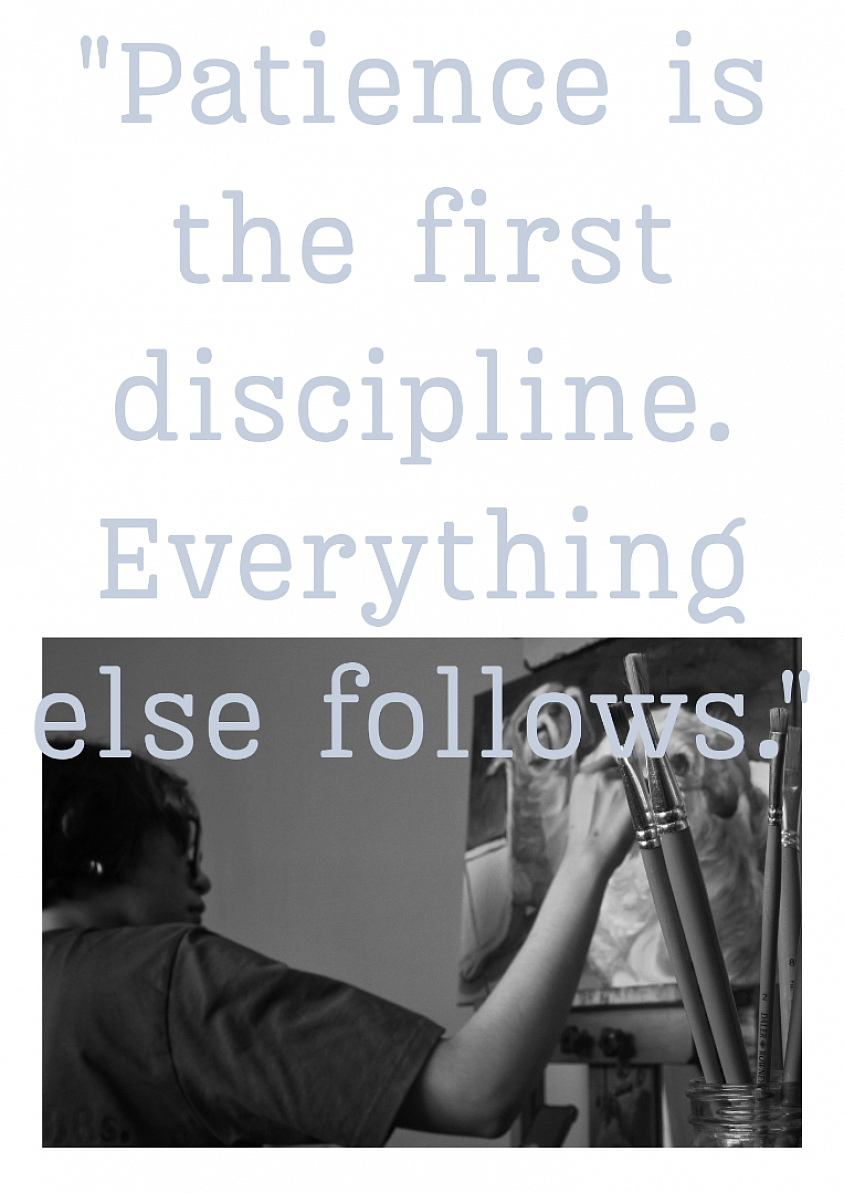
For over two decades, Andelino Atelier has been the trusted choice of Manila's most distinguished families. We do not teach art as a hobby. We develop young artists the way the great ateliers of Europe have done for centuries through patient observation, disciplined practice, and a deep reverence for craft.
Our students do not simply learn to draw. They learn to perceive the world with greater acuity, to exercise patience and judgment, and to express ideas with beauty and intention. These are qualities that serve a person across every domain of an extraordinary life.
From Andelino Press
Publication No. 001
Manifesto
The inaugural publication outlining our philosophy, mission, and vision for artistic excellence.
By invitation and recommendation only, we maintain an intentionally small enrollment. ensuring that every student receives the undivided attention their talent and potential deserve.
Three Pillars of the Atelier Education
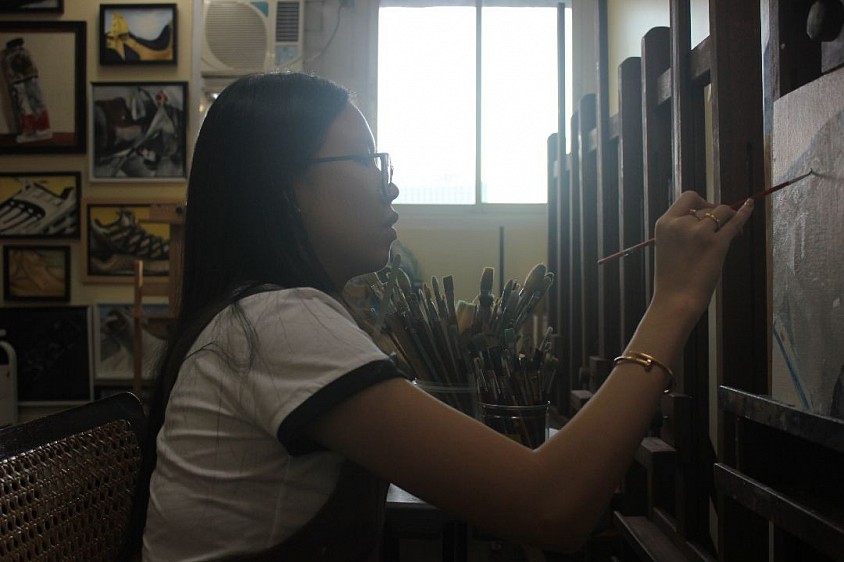
Atelier Mentorship
Each student is assigned directly to a master mentor who shapes their artistic development over months and years, not weeks. This is the classical model, and the only one that produces genuine mastery. Small groups of no more than four students per session ensure personal, focused attention at every stage.
Museum-Grade Materials
Our students work exclusively with professional, artist-grade canvases, paints, and materials, the same quality used by exhibiting professionals. A child who learns on inferior materials develops inferior habits. Andelino Atelier admits no such compromise.
Portfolio & IB Preparation
For families pursuing placement in the world's leading universities and international programmes, we provide rigorous IB Visual Arts preparation and portfolio development from Grade 5 through Senior High. building the kind of documented creative excellence that opens the right doors.
AS SEEN IN
GMA news network, Amsterdam, Inquirer Lifestyle, Daily Tribune.
Our Mentors
Faculty of the Atelier
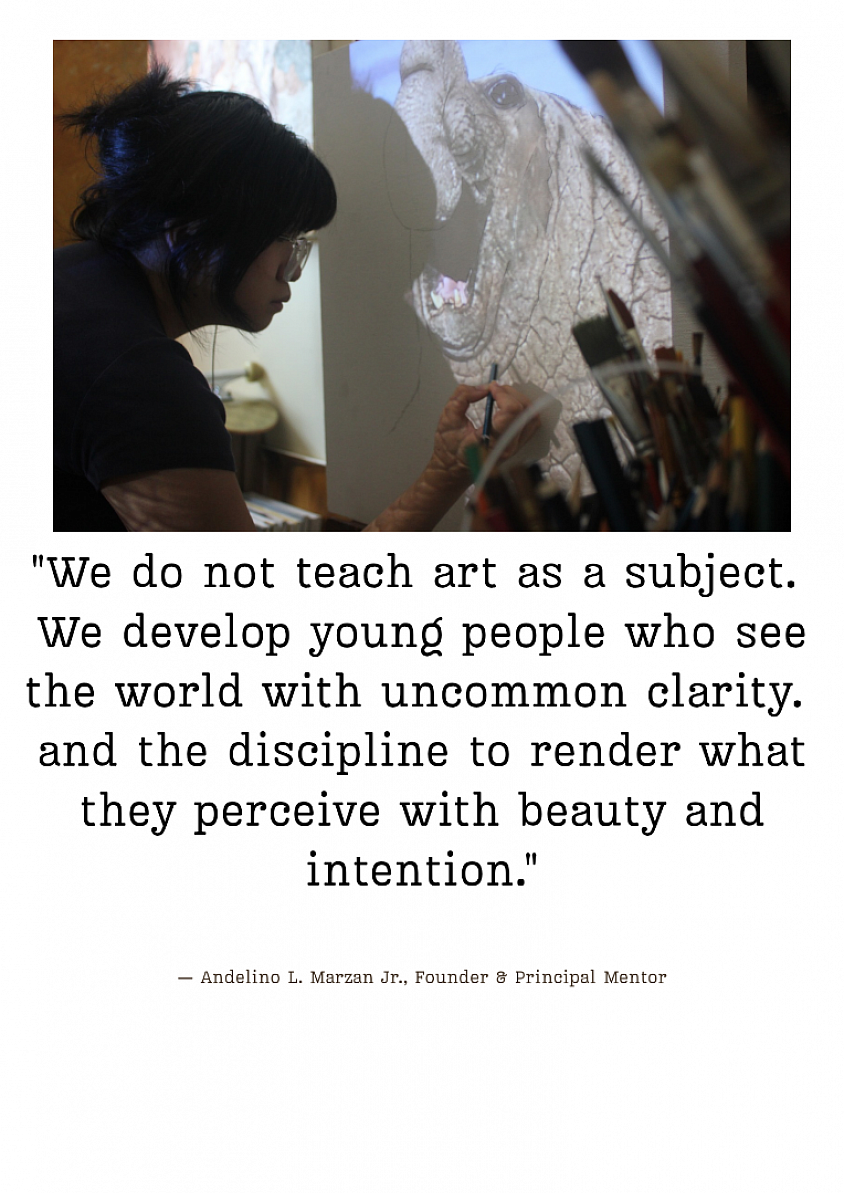
Andelino L. Marzan Jr.
Founder & Principal Mentor · 20+ Years
A Filipino visual artist and educator of deep renown, Jheng began his practice as a private tutor to Manila's most respected families before establishing the studio that bears his name. His teaching philosophy, unhurried, technically rigorous, personally attentive has produced generations of artists who have gone on to distinguished academic and professional careers. He does not simply teach art. He shapes how a young person perceives and engages with the world.
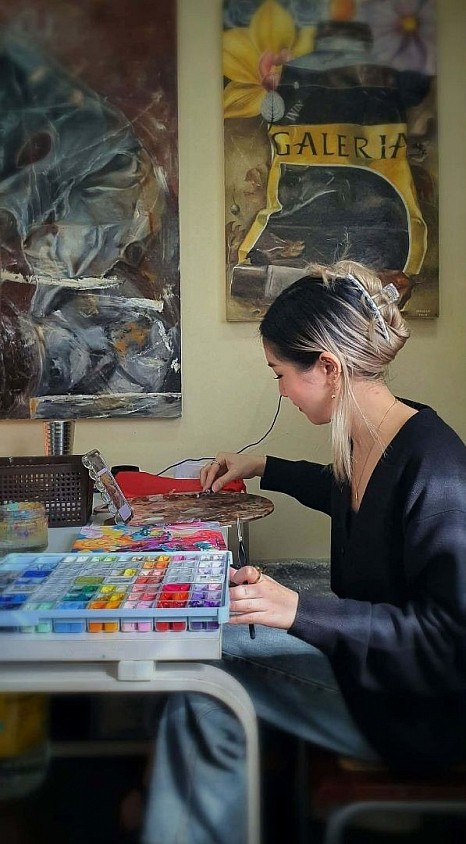
Kaz Dy
Lead Instructor & Curriculum Director
Kaz Dy brings both formal expertise and a rare pedagogical sensitivity to the Atelier. As Lead Instructor, Kaz takes primary responsibility for curriculum architecture, ensuring that each student's progression is deliberate, sequenced, and individually calibrated. Kaz also mentors the teaching staff and serves as the primary liaison for families navigating IB Visual Arts requirements and international portfolio standards.